
I had this idea about four months ago and just now got a chance to make it and write this tutorial for it.
I used a round tab punch to make the top before I cut the punch out in half I used a 3/4" circle punch to
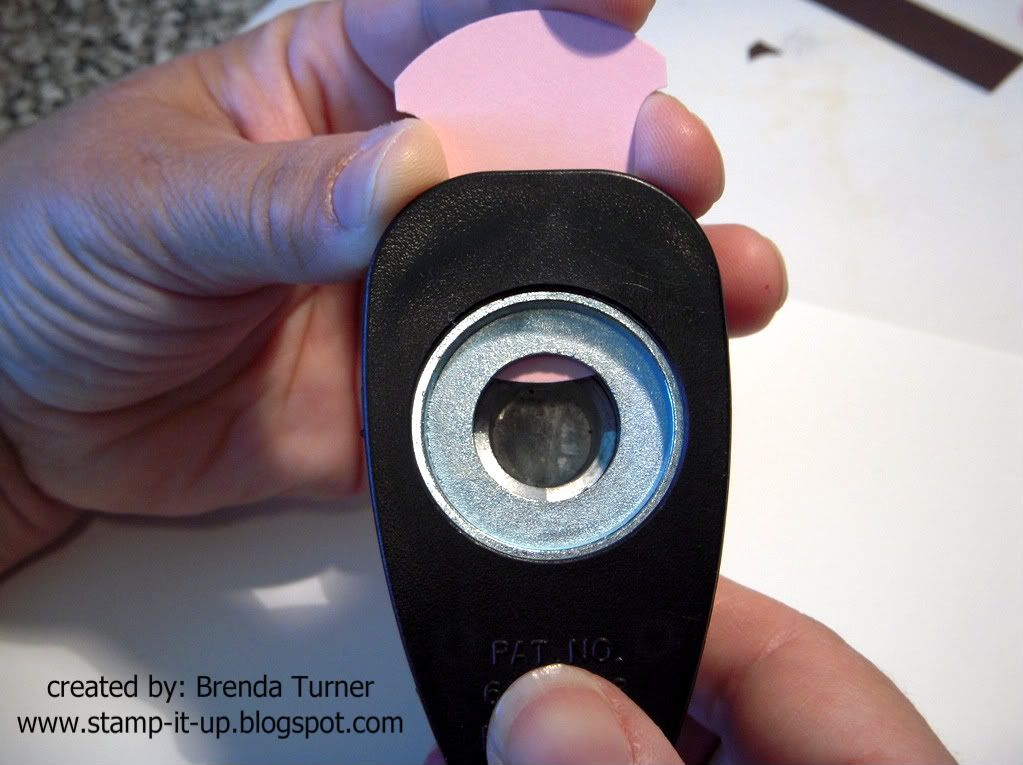 cut out the neck.
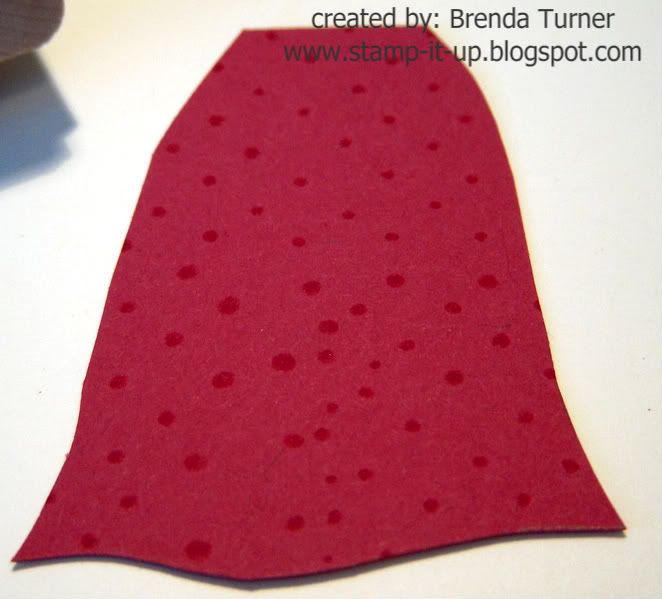
I free hand drew and then cut out the skirt then I stamped it with a itty bitty background stamp.
Before putting the top and bottom together I needed to trim the top so that there was a waist line.
I used 1/4" ribbon for the belt and a brad for the buckle. I also placed the prongs of the brad on either side of the ribbon and then put it through to the back and opened the prongs, this gave a cinched up look to the belt.

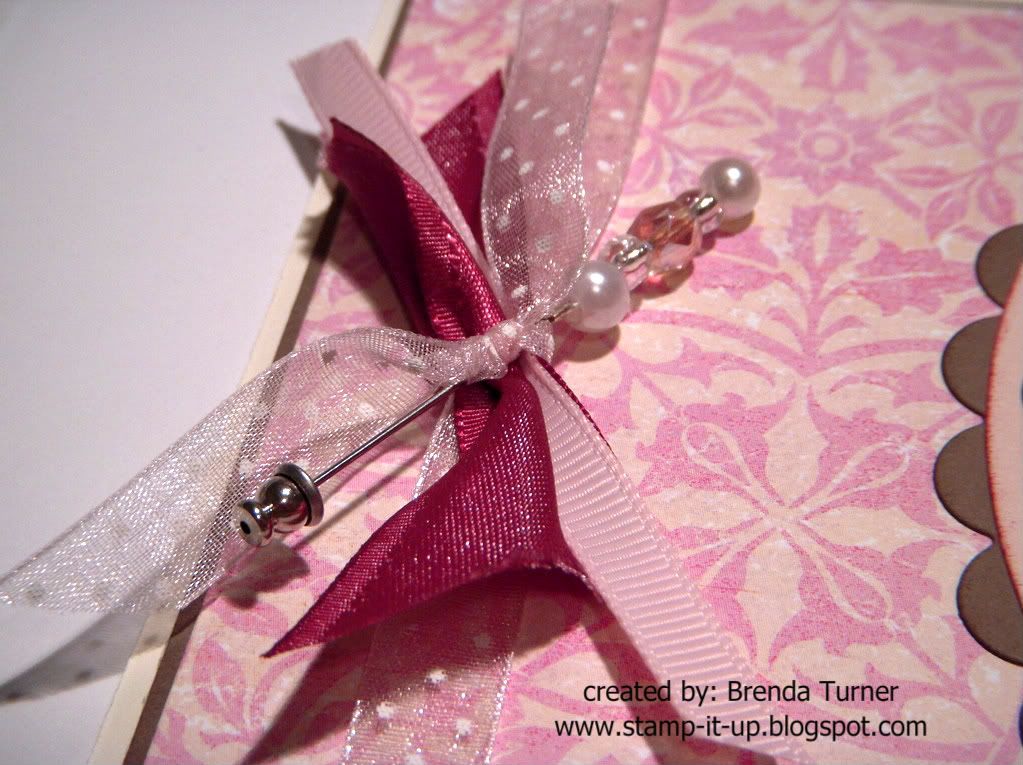
For the pin on the ribbon I used a corsage pin and some beads and a pearl I bought in the beading department at M's. I used a crimp bead to keep the beads in place and I used an ear back for the stop at the end. Thanks for looking.
Brenda
Thanks so much for the details on the pin. Have been wondering how to assemble some without having to purchase the Pretties kits for a stamp-a-stack!
ReplyDeleteBrenda - LOVE THE PIN!! I just gone a Creating Keepsakes one as a gift and was trying to figure out a way to make one and was having no luck with stick pin findings at Michael's! THANK SO MUCH!!
ReplyDeleteVicki